Description
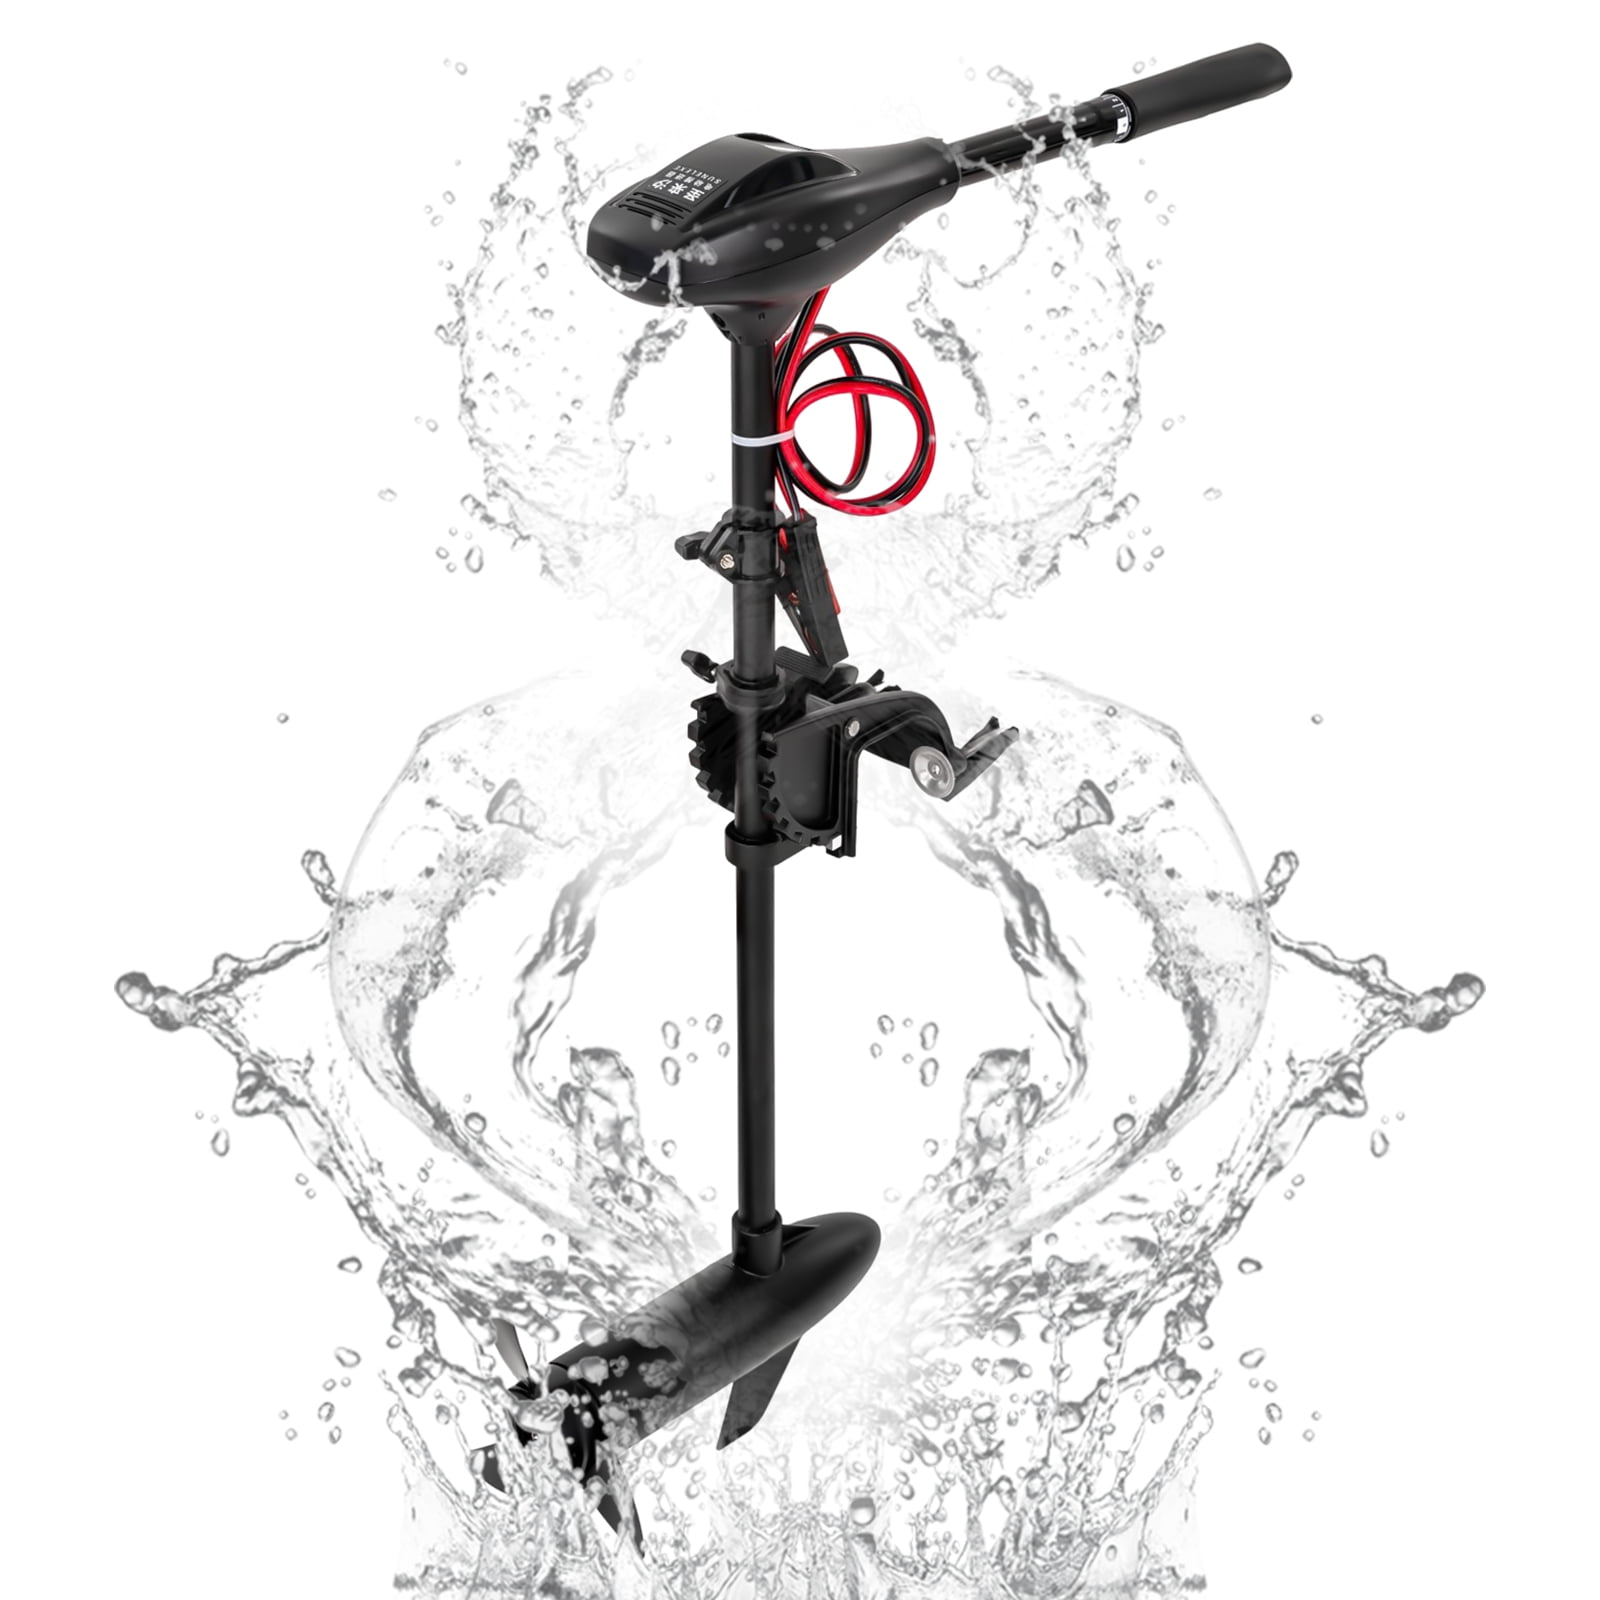
The trolling motor is made of pure copper, which has excellent electrical conductivity, thermal conductivity, ductility and corrosion resistance. Meanwhile, it can overcome huge water resistance to increase the speed of driving. Its angle, gear, and height can all be freely adjusted. It is suitable for a variety of small watercraft, such as fishing boats, dinghies, and inflatable boats.
Details
【Tightened Brackets】 The tightened brackets are used to secure the thruster and transoms of the ship so that the thruster will not fall from your boats.
【High Power Battery Clamp】 The clamp is more durable and wear-resistant under high currents. And they have good conductivity.
【Circuit Breaker Protector】 The trolling motor with overload, short-circuit, and under-voltage protection settings can protect wiring and power.
Application
The trolling motor is suitable for a variety of small watercraft, such as fishing boats, dinghies, and inflatable boats.
Specification
Model: L40
Speed Control: F5-R2
Motor Type: Brush Motor
Rated Voltage(V): 12
Rated Speed(R/min): 1700
Rated Current(A): 34
Rated Power(W): 408
Control Handle: Retractable
Maximum Speed(km/h): 6
Noise: 50db
Battery Model: 12V 100A Batteries
Net Weight: 7.8kg/17.2lbs
Gross Weight: 9.3kg /20.5lbs
Propeller Model: 3 Leaves, 7.6*22.9cm/3*9in
Rod Length: 76cm/30inch
Package Size: 102*41*16cm (40.16*16.14*6.30inch)
Installation
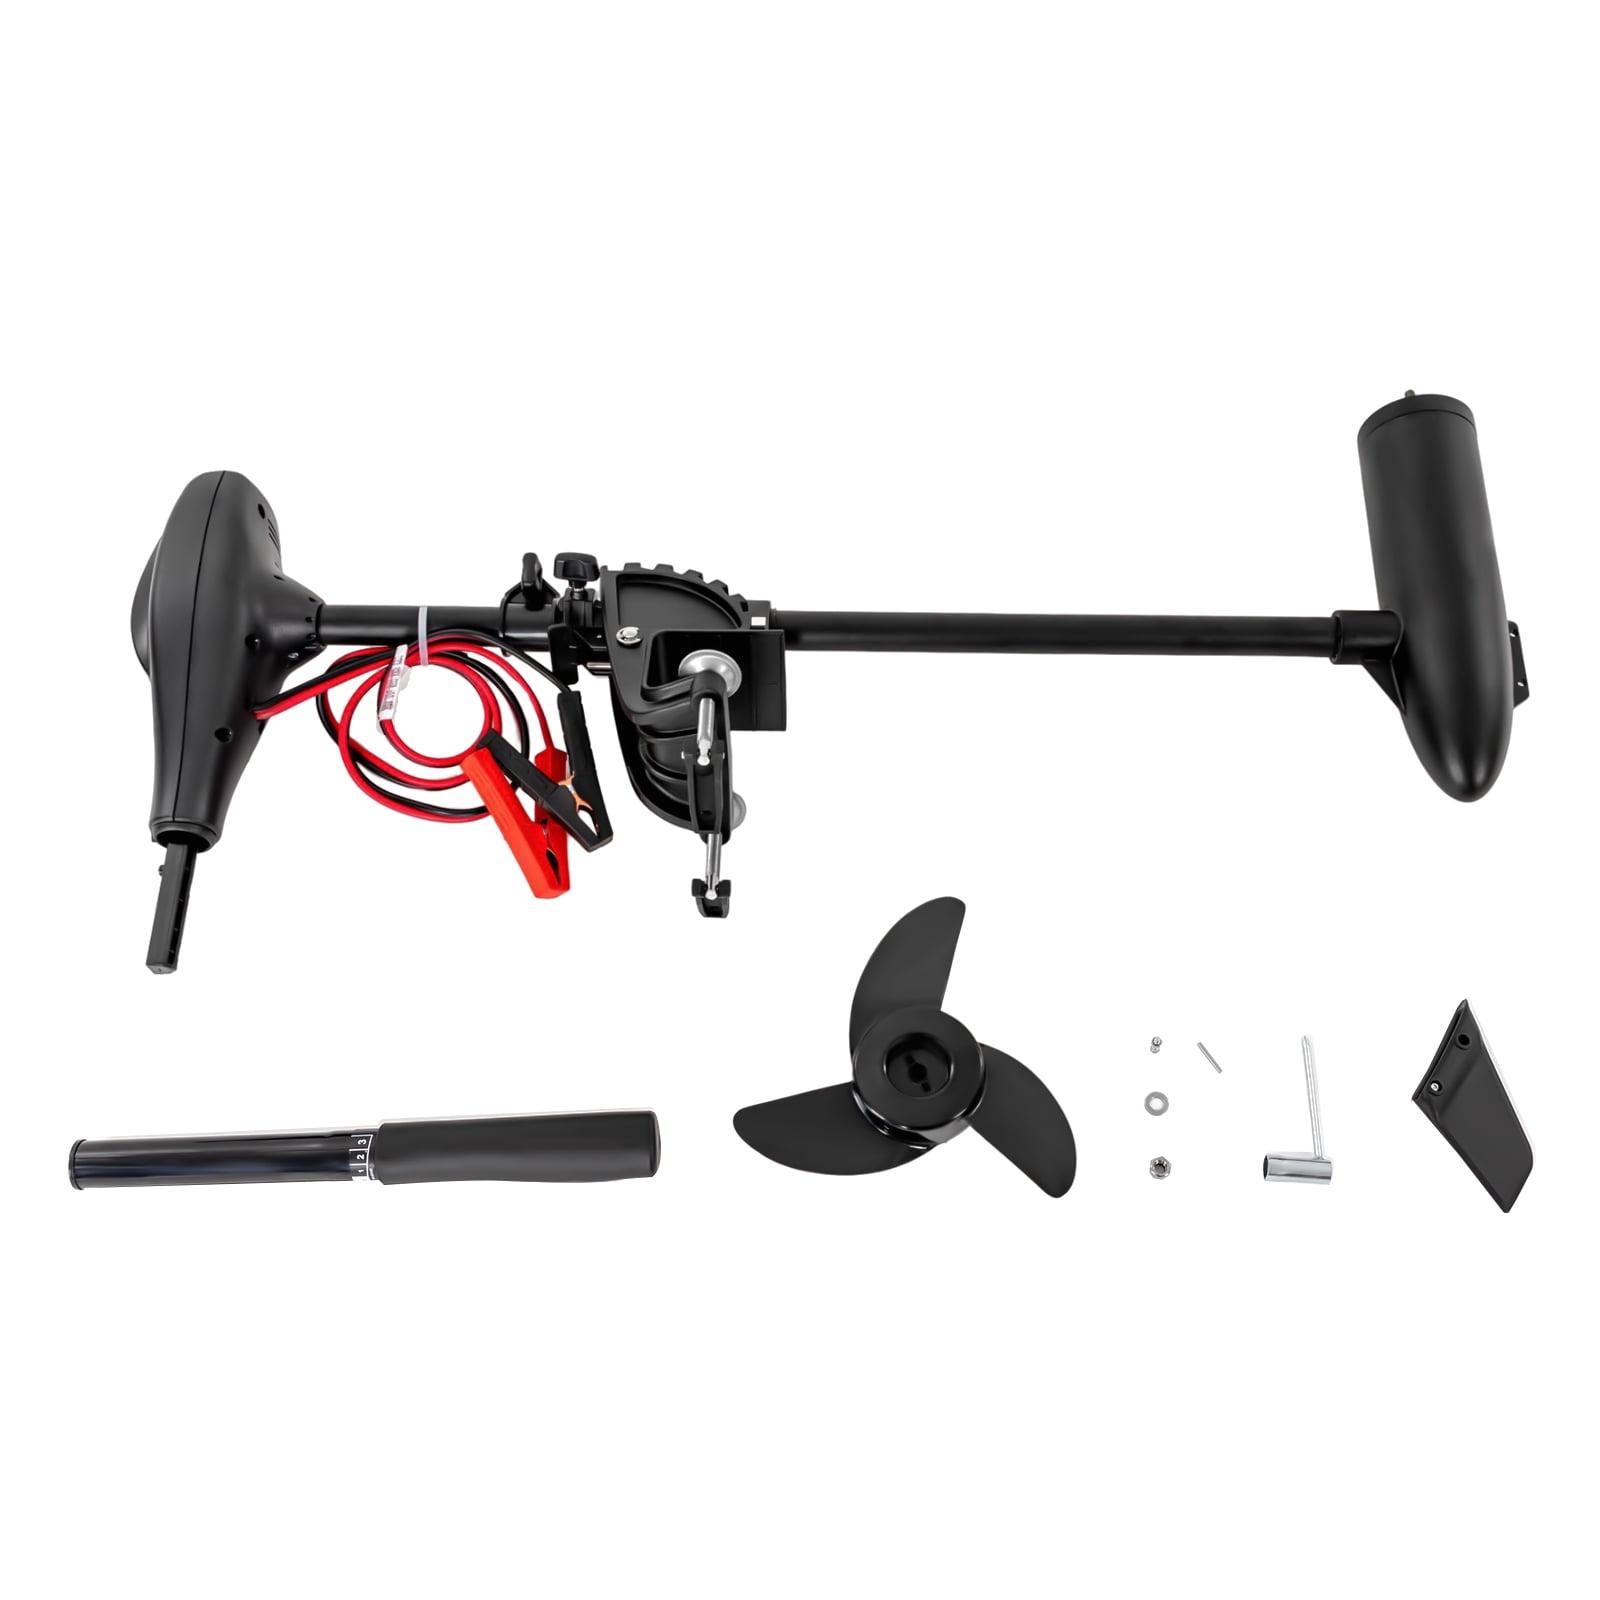
1. Tear off the sticker at the spring on the handle.
2. Take out the handle, and align the handle with the interface at the inner shell of the handle.
3. Press the handle spring with one hand and push the handle in with the other hand. After a crunching sound is heard, the handle is installed.
4. Take out the cylindrical card pin and insert it into the round hole of the drive rod (note that the length of both ends needs to be consistent).
5. Align the back of the propeller with the card slot and the card pin horizontally, and then tap into the propeller with force.
6. Put in the card flap, then screw the nut to complete the installation.
7. Take the fins out of the box and insert them into the fin slot.
8. Put the included screws into the screw holes of the fins and put the nuts into the other end. Hold them down.
9. Then tighten the screws with the Phillips screwdriver.
10.


